screenshot

Set Up a React Environment, Part 3

Throughout the rest of this tutorial series, we’ll focus on setting up React locally. The first of these approaches is similar to CodePen, where the React scripts were inserted dynamically into your HTML file, before being rendered in the output window.

The only difference here is that we’ll be inserting the scripts manually.

Manual React Setup

Start by creating an index.html document and adding a couple of


The React scripts added are via a CDN, and the particular URIs are recommended by Facebook. If you want to work completely offline, you could download these scripts locally and change the links to be relative.

An element

 was added as the location in the DOM our React app will be rendered to. A blank


Notice how in the component we can create as many elements as we like by adding more calls to React.createElement(). Also, props are passed into child components via a props JavaScript object, which can then be accessed inside components via the function parameter props.

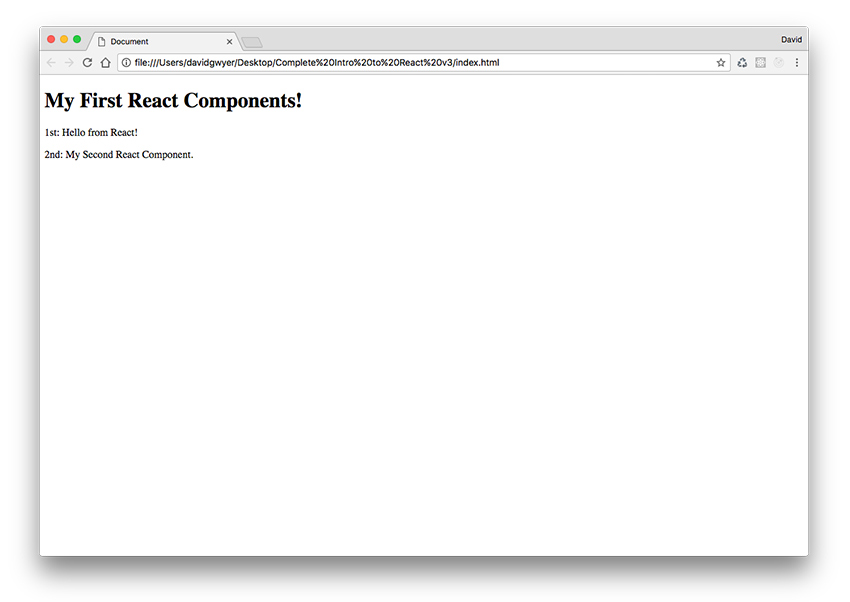
Open index.html in a browser to see the React output.

Reacts output

I won't go into more details here about React.createElement(), and other non-JSX topics, as the majority of React users choose to write their components using JSX. We'll be using JSX for our React components for the remainder of this tutorial series.

Clearly, the lack of tools such as Babel restricts how easy it is to write React code completely from scratch. There are many other tools we could take advantage of too, such as a bundler that creates a single JavaScript file from all the required React libraries plus our app code. We'll discover a better approach in the next section that's just as easy to set up.

Create React App

To solve the problem of complex manual React setups, Facebook introduced create-react-app, which is a user-friendly way to get started developing with React. It provides you with full build setup but requires no manual configuration at all.

Let's go ahead and install create-react-app. Type the following code in a command-line window.

npm install -g create-react-app

This will install create-react-app globally so you can access it from any directory.

You'll need npm installed to run this command, and Node.js to run create-react-app. As npm comes bundled with Node.js, simply download and install the latest version of Node.js from the official website.

We'll now create a new React app called my-first-components. Note that create-react-app creates the containing folder for your app automatically, so you only need to make sure you're in the directory you want your app folder created in.

Run these commands to create your app and run the start script.

It might take a minute or two for create-react-app to complete installing everything. Once done, enter the npm start command and a new browser window will open and, after a few seconds, your React app will be displayed.

The initial display of the React app

The nice thing about create-react-app is that it includes a mini web server and also watches the files in your app for changes. Whenever a change is made, your app is rebuilt, and the browser window automatically reloads to display your updated app.

During the automated setup process, create-react-app generates several files as well as the following three folders:

  • node_modules
  • public
  • src

A React apps organization

To get a feel for how we create components and connect them together inside a create-react-app generated app, we'll create the same components that we have been working with so far.

The default output of the app suggests we edit App.js as a starting point, so open this file and remove the import calls for the logo and CSS files as we won't be needing these. We can also simplify the component, and add in our two child components from before.

Your App.js file should now look like this:

Save your changes and create-react-app will automatically update your app in the browser. This results in the same output as before. (Notice it's loaded in the browser via the local web server this time, though.)

Your first React component

Let's make this more modular, though, to be in line with modern best practices for creating React apps. Create two new files inside the src folder named MyFirstComponent.js and MySecondComponent.js.

Inside MyFirstComponent.js, add the following code:

And inside MySecondComponent.js, add similar code:

Finally, we need to update App.js to import both child components as they're now located in separate files:

This approach to structuring your React app is much more modular and portable. It also allows for easier debugging as each component is self-contained inside its own module.

Conclusion

In this tutorial, we've covered two methods for setting up React locally: the manual approach, and using the create-react-app tool from Facebook.

Creating a React app manually from scratch and inserting the script dependencies directly inside the index.html file is pretty inefficient. As your app scales, and as different versions of your scripts are released, manually updating the scripts will quickly become unmanageable. On top of that, we can't use ES6 features, or write our components in JSX!

Using create-react-app, on the other hand, is a very smooth process. It's installed and initialized with a couple of commands. Once running, create-react-app rebuilds your app and updates the browser window every time you edit any project files. This is a really nice workflow when making a lot of minor changes, as it helps to speed up app development.

In the next tutorial, we'll create a React app from scratch that uses Webpack and Babel to bundle and process our app into a single JavaScript file. Unlike create-react-app, where everything is done for you, we'll be manually configuring all the setup files, and we'll discuss why you'd choose this approach.

Powered by WPeMatico

Leave a Comment

Scroll to Top